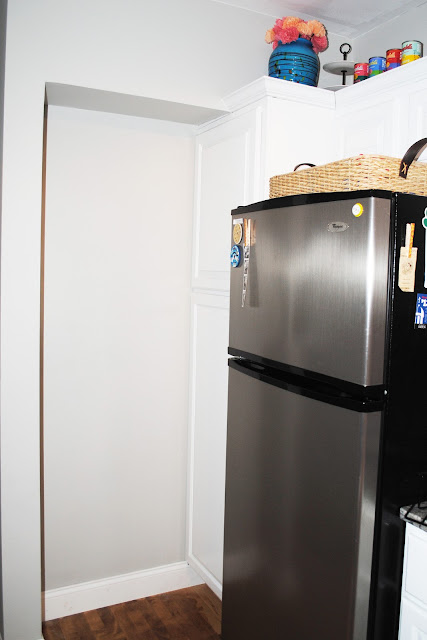
I've known since day 1 that I wanted to put a nice big DIY chalkboard in the space, to help make it look a little more intentional, but it wasn't exactly at the top of our priority list. Then last week I suddenly got the urge to do something productive, so I dragged Dan and Manda to Home Depot and in no time we were starting on it!
I learned on my beloved Pinterest awhile back that making your own chalkboard paint in any color is insanely easy - just mix 2 tablespoons of unsanded tile grout in with 1 cup of paint and mix well. That's IT! I honestly didn't even bother to actually measure, but figured the little sample pot of charcoal gray paint I got looked like about a cup, so I just threw a couple spoonfuls of the grout right in there and mixed it up.
As far as the actual process of putting together our chalkboard, we decided to make it as absolutely simple as possible, which is probably not the best route to go, but totally worked for us. Basically, I measured approximately how large I wanted the chalkboard to be, and we had Home Depot cut some super cheap pieces of molding to size. I think the wood cost us something ridiculous like $3 total. When we got home Dan drove a couple quick nails into the pieces to make a frame, and then it was time to paint!
For the wall, we just held the frame up where we wanted it, made sure it was level, and then I used a pencil to outline where I should paint. I used a small foam roller and did a few quick coats of my paint + tile grout mixture, and didn't even bother to stay in the lines since I knew the frame would cover it.
Next up was two quick coats of paint on the frame with a sample pot of Wet Coral by Behr, which is officially my newest color obsession.
We sort of kind of waited for everything to dry, and then held the frame back up on the wall, made sure it was level and nailed it in with Dan's nail gun all around the edges. Then, I swooned over my beautiful bright chalkboard and smiled like an idiot at it before going to bed.
The following evening (when all the paint was actually dry), I used the side of a piece of chalk to cover the entire surface, which I learned is called "conditioning" and helps get the chalkboard ready to use.
Finally, the next night, I got to wipe it down and have some fun with it! I used one of my all-time favorite lyrics "Home is wherever I'm with you", which is from Edward Sharpe & The Magnetic Zereos' hit song Home... which happens to be the song we cut our wedding cake to!
Cute, isn't it?
Total, this project cost less than $10 and took about an hour (not including the 20 minutes I spent drawing up the song lyric). I'm sure there's plenty of ways to complicate it - like doing more precise measuring or making a fancier frame, but for us this was perfect and I'm loving the bright pop of color it brings into the room!


LOVE it!!
ReplyDeleteLove your chalkboard and your beautiful handwriting! It really came together nicely!
ReplyDelete